
I am also a bit exhausted. In the past month, I have completed more school work than I ever thought possible. Papers, interviews, papers about interviews, and tests, tests, tests. This has been my life for the past month. Doesn't leave much room for crafting, am I right?
Luckily, I quit being exhausted and started crafting instead.
True Story. Ha ha.
So, ta-da! Here it is!

Ever since Mr. Guy and I inherited a coffee maker, I wanted a coffee cart. (It might also stem from the hours my mother and I spent looking for her own coffee cart!) I knew I wanted mine to be simple yet functional.

Um, that's too simple...and junky.
Since the cart isn't made to have curtains, I decided to make liners. Also, I think I am obsessed with placemats, and that is essentially what these shelf liners are! I knew from the moment I saw this fabric that I had to have it, even if it did not match my kitchen decor (more on that later).
Seriously, check out this little dude...
.JPG)
"I'm a little teapot..."
Adorable. Since this is a series, I also plan to turn some Folger's coffee containers into cute storage for sugar, creamer, and whatnot. I also have a chalkboard in the works. So many ideas!
Okay, besides a sewing machine (or steady hand), scissors, thread, and straight pins, you'll need these.

Yes, I only took a picture for 3 out of 7 supplies. Hush, I'm learning!
Next...

Afterward...

I beveled the edges of the liners, because the shelves of the cart are not exact rectangles. The legs extend up through each shelf. Plus, I feel that beveling makes everything look professionally made. Bonus points!
Be sure to leave an opening for turning out!

"You turn me inside out, side out, like a placemat, Baby. Out, out, out, out."
You can iron the edges instead of sewing them if you want to save thread or don't feel like sewing an unseen edge. I found that sewing them made it easier to apply the bias tape since it flattened the edges quite nicely. Less bulk, but either way will work!

I like to cut corners. Heh. Heh.
Now I love the look of quilted placemats, but I'm impatient. I also didn't want to take away from the colorful print with a bunch of straight lines, so once I finished sewing the edges all around, I free-stitched (is that a term?) around several of the little pots and cups.

He's short and stout.
Make and sew on your bias tape...

I might make a tutorial for bias tape. I just love funky, patterned, and colorful trim. It's unexpected and adds a little excitement. Plus, it helped the mats blend in with the rest of my kitchen decor. Win.
I strongly suggest that you pin the fabric down like a maniac. I felt more in control of the trim when I came to a corner. Hopefully, the pictures explain the folds more than I can. The look should be the same for both front and back. I took the shortcut route and sewed the bias tape on all at once. I took it slow and pivoted the needle when made a turn. It worked out well!
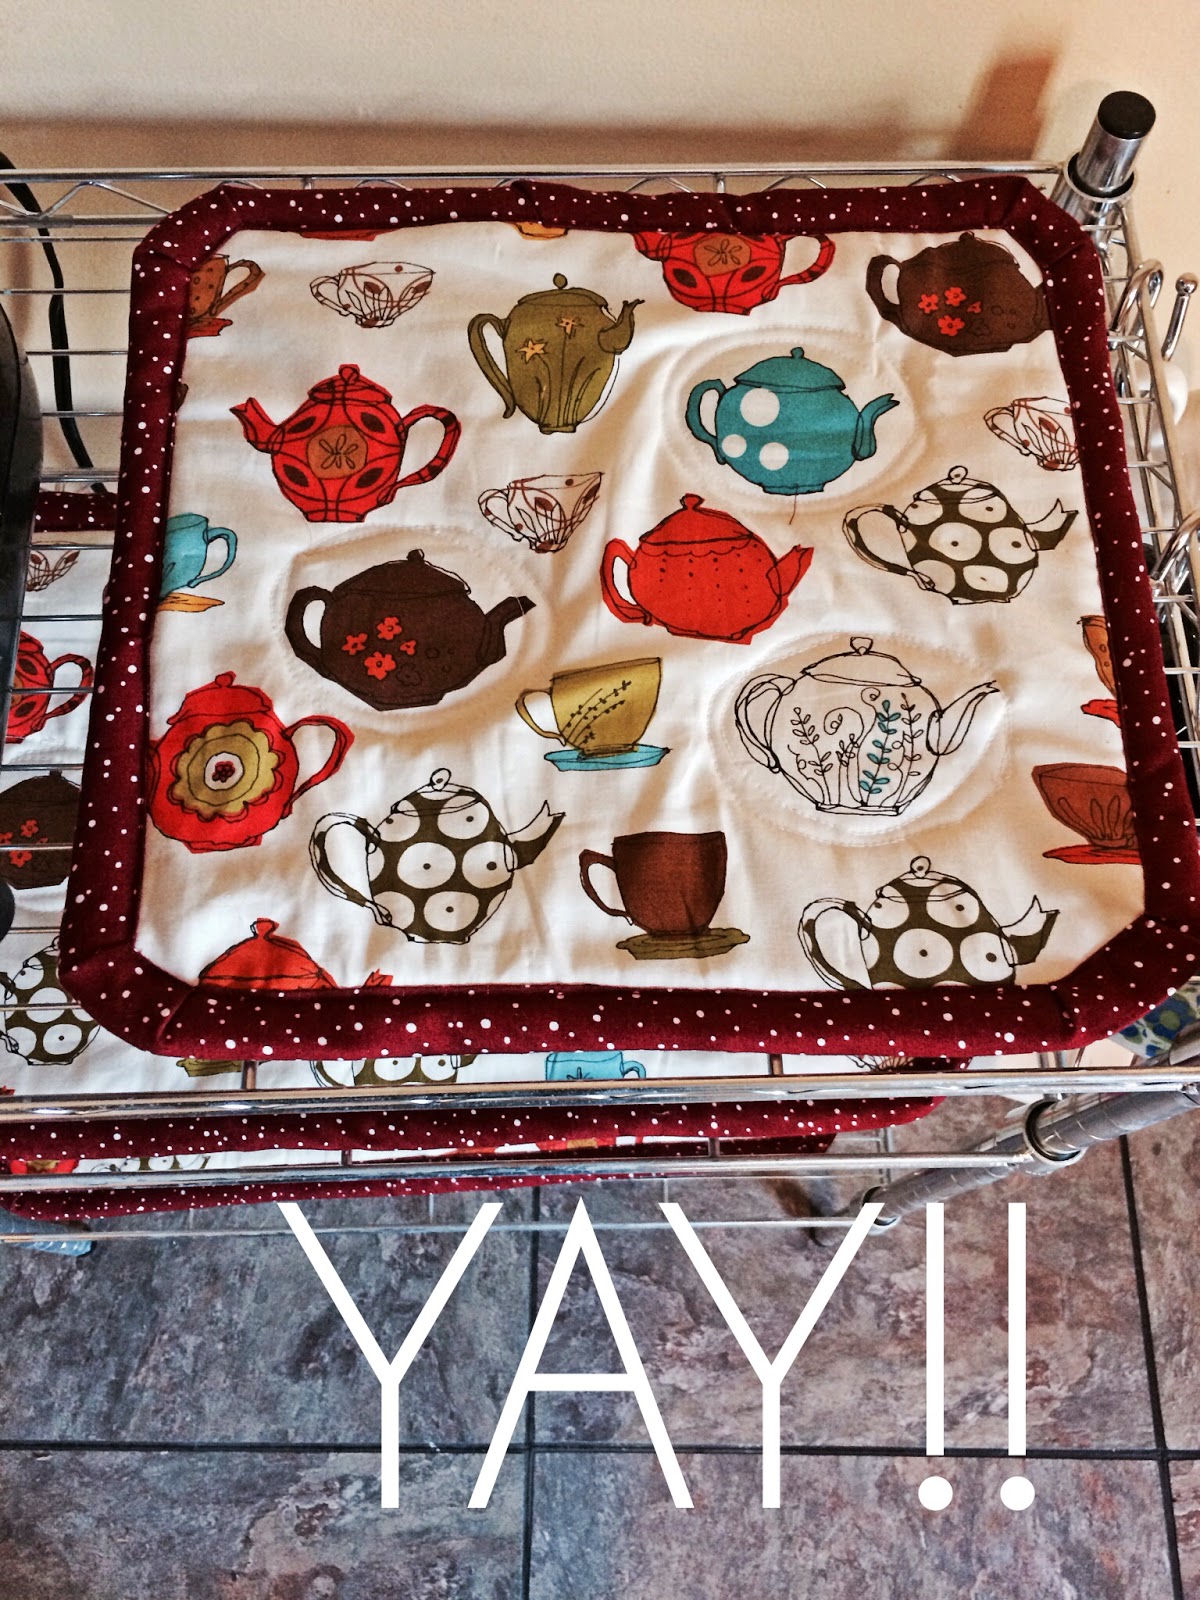
Now, doesn't that look nice! I am happy with the result and cannot wait until I repurpose the Folger's containers.
I hope I have inspired you to tackle your own coffee cart project. Or a bar cart!
Or a doughnut cart.
Ooh, a doughnut cart. I might have to make room on the shelves for desserts. Confections and coffee. I'd wake up to that!
Till next time!
Hailey Aryn